

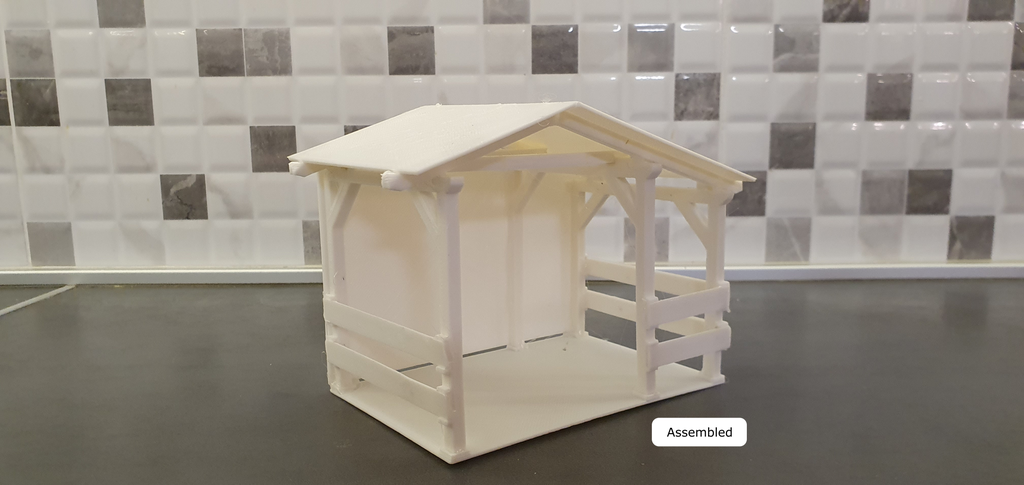
This is a simple DIY Christmas Nativity Stable project which involves 3D printing, assembling, and installation of LED lighting.
The stable was generated using Tinkercad Codeblocks. Projects are public and available for copy/download. The project is not hard to make and it will be fun and challenging.

Needed parts and materials:
To make this instructable, you will need the following things:
Step 1: Design
The stable is created in Autodesk Tinkercad, a free online CAD environment, using the Codeblocks coding feature.
Tinkercad Codeblocks is easy to use and beginner-friendly tool which gives you a dozen basic 3D shapes which you can programmatically scale, rotate, move, copy, delete, or group to make more complex shapes. That is the way this stable is made, so I encourage you to take a look at the project on the URL below and copy it to your workspace and take it apart to see how simple it is.
If you looking for a more powerful 3D modeling tool, take a look at the Autodesk Fusion 360.
Codeblocks Source File
You can find and copy the project here: https://www.tinkercad.com/codeblocks/jw3xcTq3sKx.

Step 2: 3D Printing
Go to Thingiverse (https://www.thingiverse.com/thing:5164272) and download STL files and print every file once. No need for 3D printing support.
With “out of the box” nozzle 0,4mm, 1,75mm filament, and standard speed settings you have around 20 hours of printing. I was using a little bit bigger nozzle (0,6mm) with 0,4mm layers and managed to print the whole thing in around 10 hours.
Christmas Nativity Figures
As this is only a stable, for a complete nativity scene you will need the figures also. If you are in the mood to print it by yourself, there is a nice printable set on Thingiverse, created by Jochem: https://www.thingiverse.com/thing:1175348.

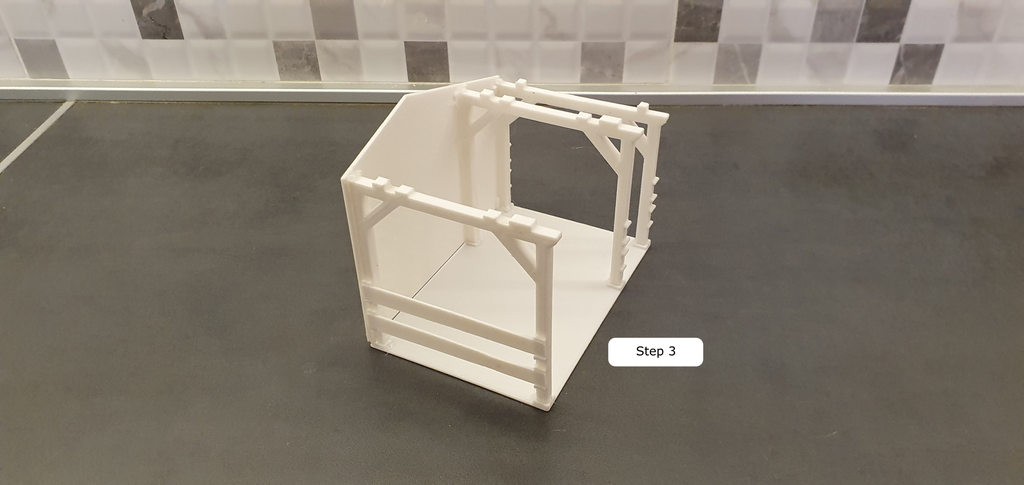
Step 3: Assembling and Decoration
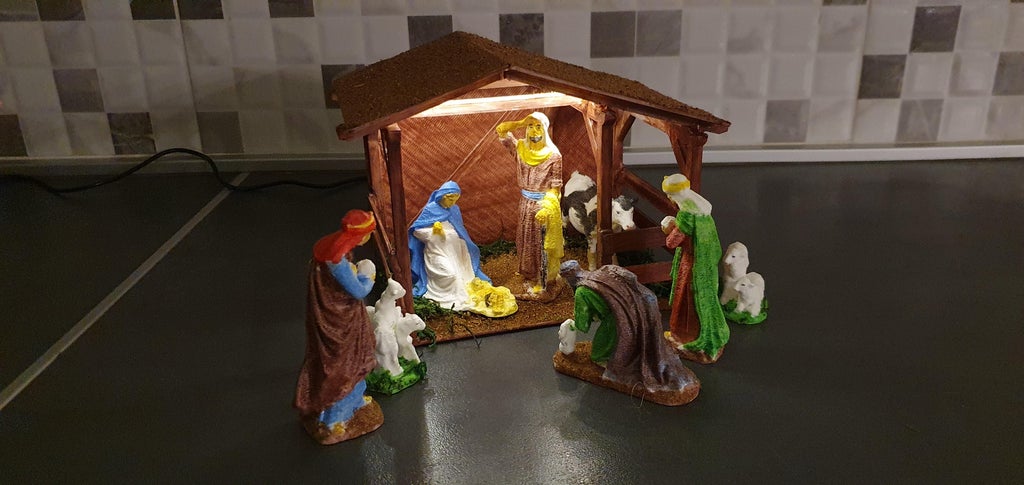
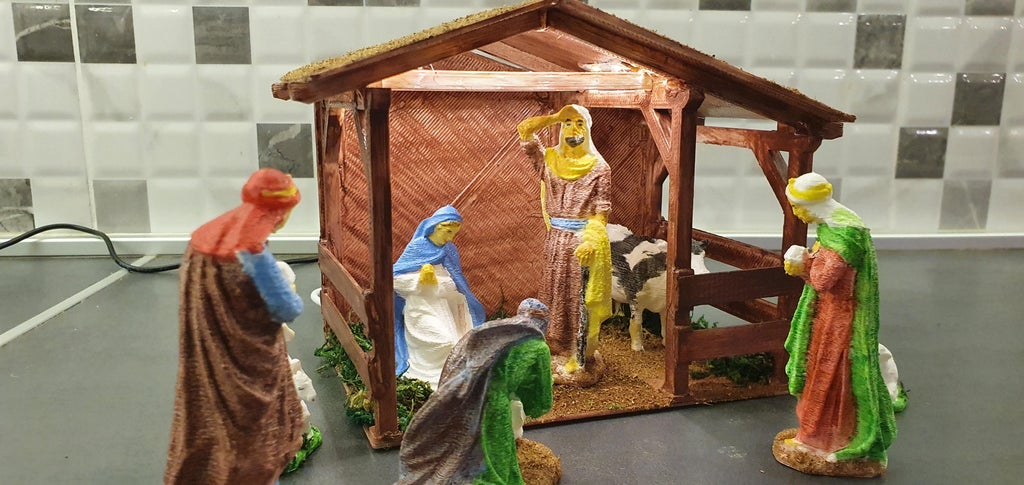
When you are done with printing it is time to be creative to assemble your 3D printed Christmas nativity stable.
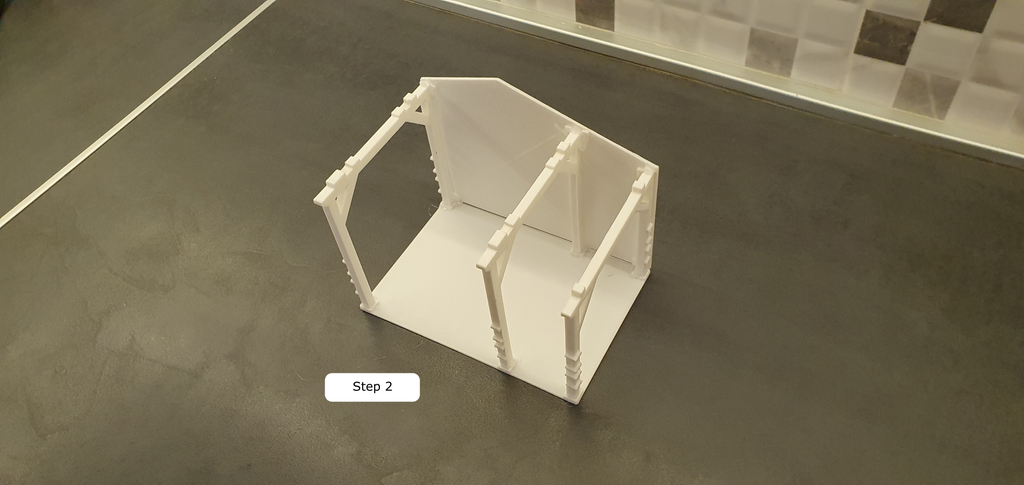
Prepare the Parts
While assembling I used a file to scrape material to make a little bit more space for planks and beams.
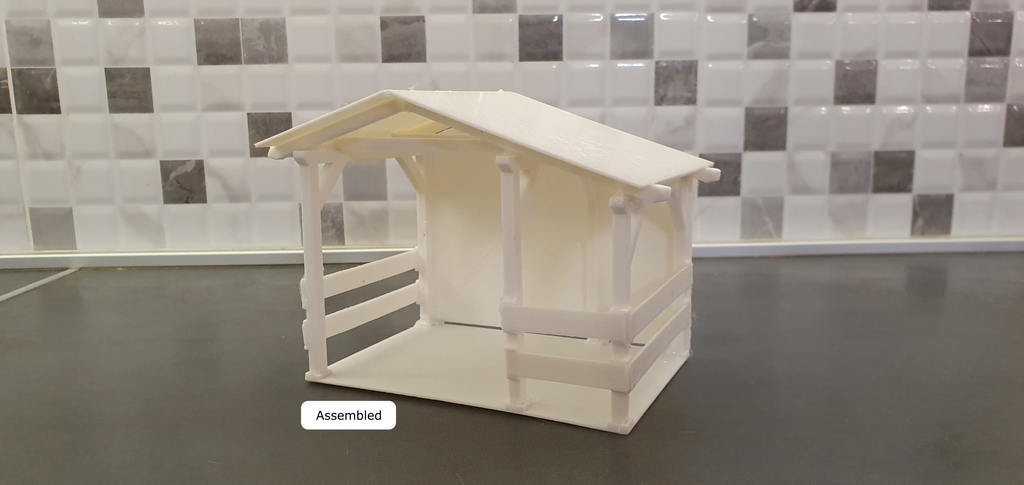
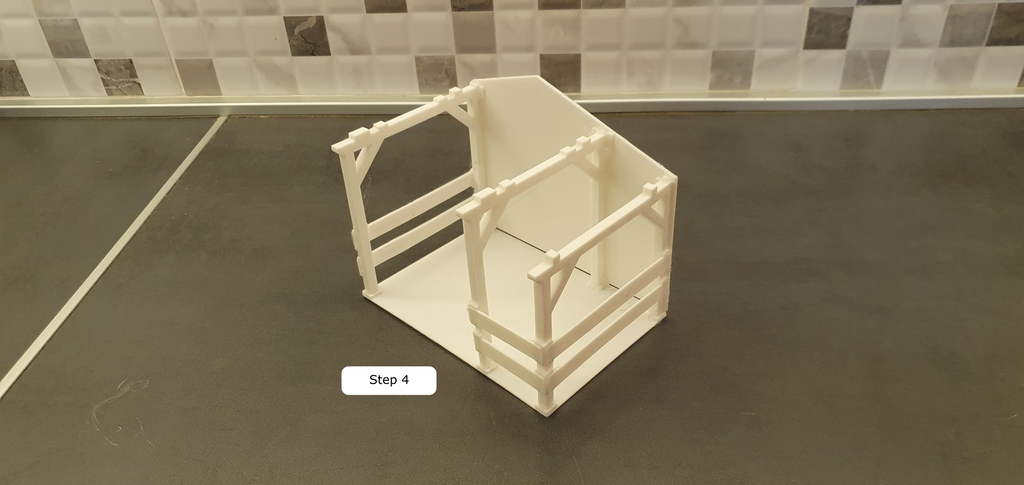
Gluing
Parts are glued using a hot glue gun and you can follow steps from the images above.
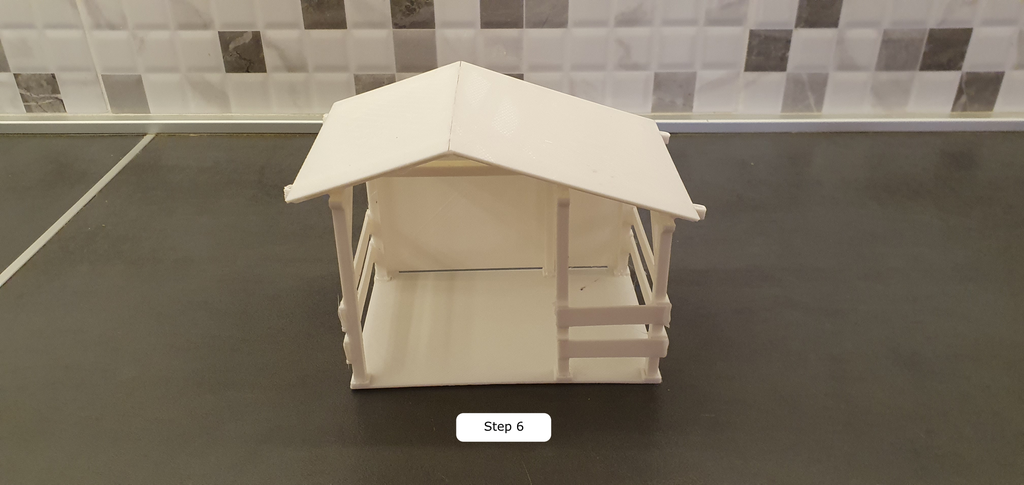
Decoration
After gluing, it is time to decorate your stable. I used paint for model toys. After painting, I smeared liquid glue on the roof and floor of the stable and dispersed artificial dirt and grass.


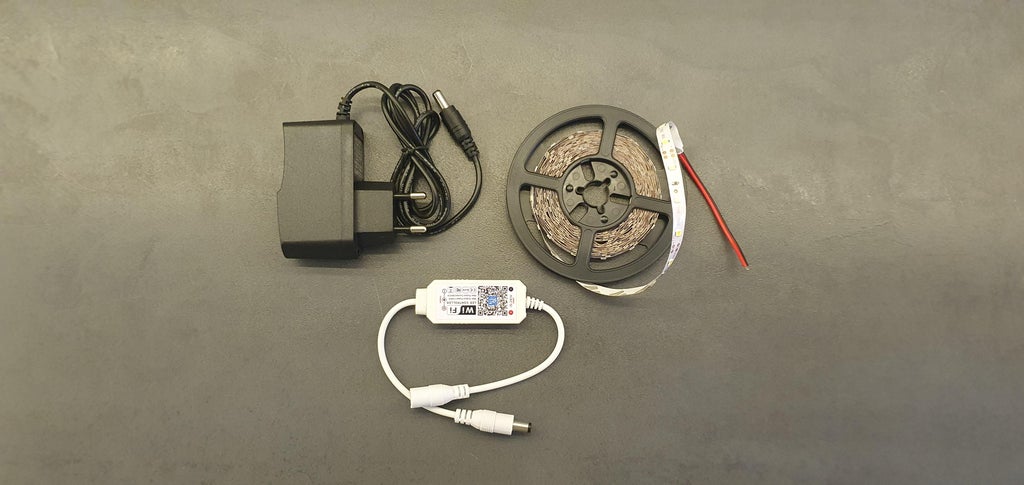
Step 4: LED Lightning
Let’s make our stable special and add some light into the scene, as light gives a special charm.
We are going to use a tried and safe 12V LED strip in combination with a great WiFi LED controller. This controller is so cool that you can control the lighting of your Christmas nativity stable using your Amazon Alexa or Google Home assistants, by your voice.
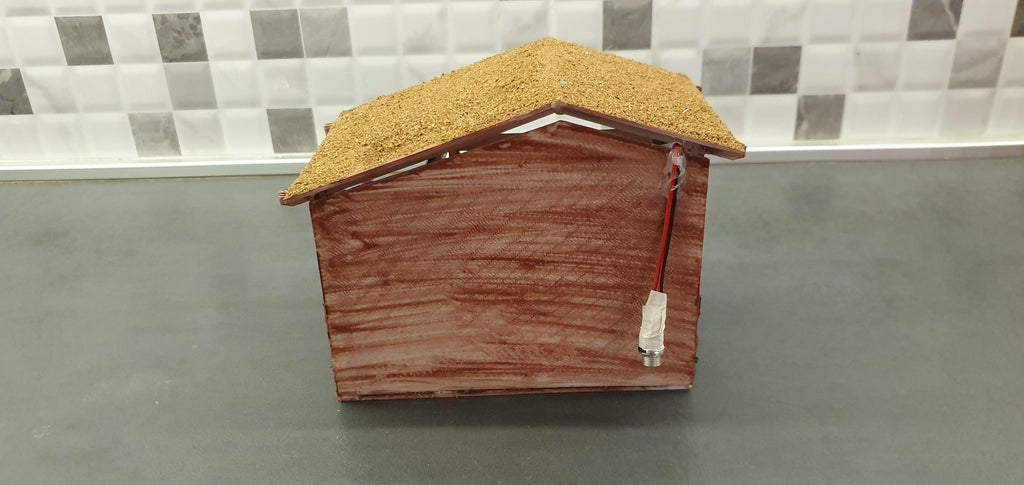
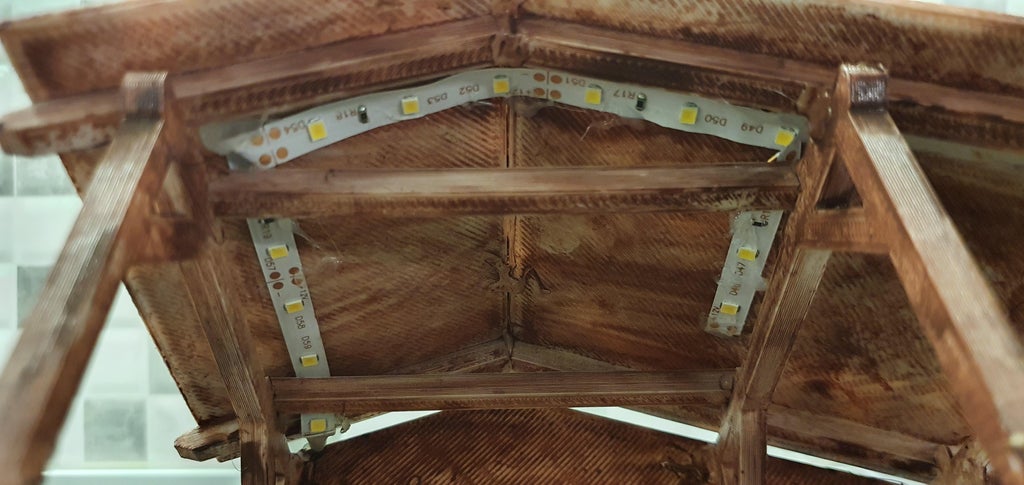
Gluing and Soldering
I glued part of the LED strip to the roof, pulled the wire out, and soldered the female power supply connector, as described in the images above.
WiFi LED Controller
To configure and use the WiFi controller you will need the Magic Home app. From the app, you will follow the instructions and pair the controller. All you need to do is to plug your controller into the power supply and the LEDs. If the controller is OK LEDs will start to blink and shine. Then go to the app, click on the “Add Device”, select “Manual Connection” and then connect your device/phone to the “LEDNet…” WiFi network which is emitted by your LED controller. When connected, return to the app and your app will guide you till the end of the setup process.
The WiFi LED controller is a great approach as you will get the option to remotely control lightning as also to set a timer when to turn on or off your lights. Also, feel free to use more LED strips and to light up maybe something else too.
The Truth Behind the Hard Work
The recommendation for a video editing tool goes to Wondershare Filmora, probably the best and most user-friendly video editing tool I have used.
